
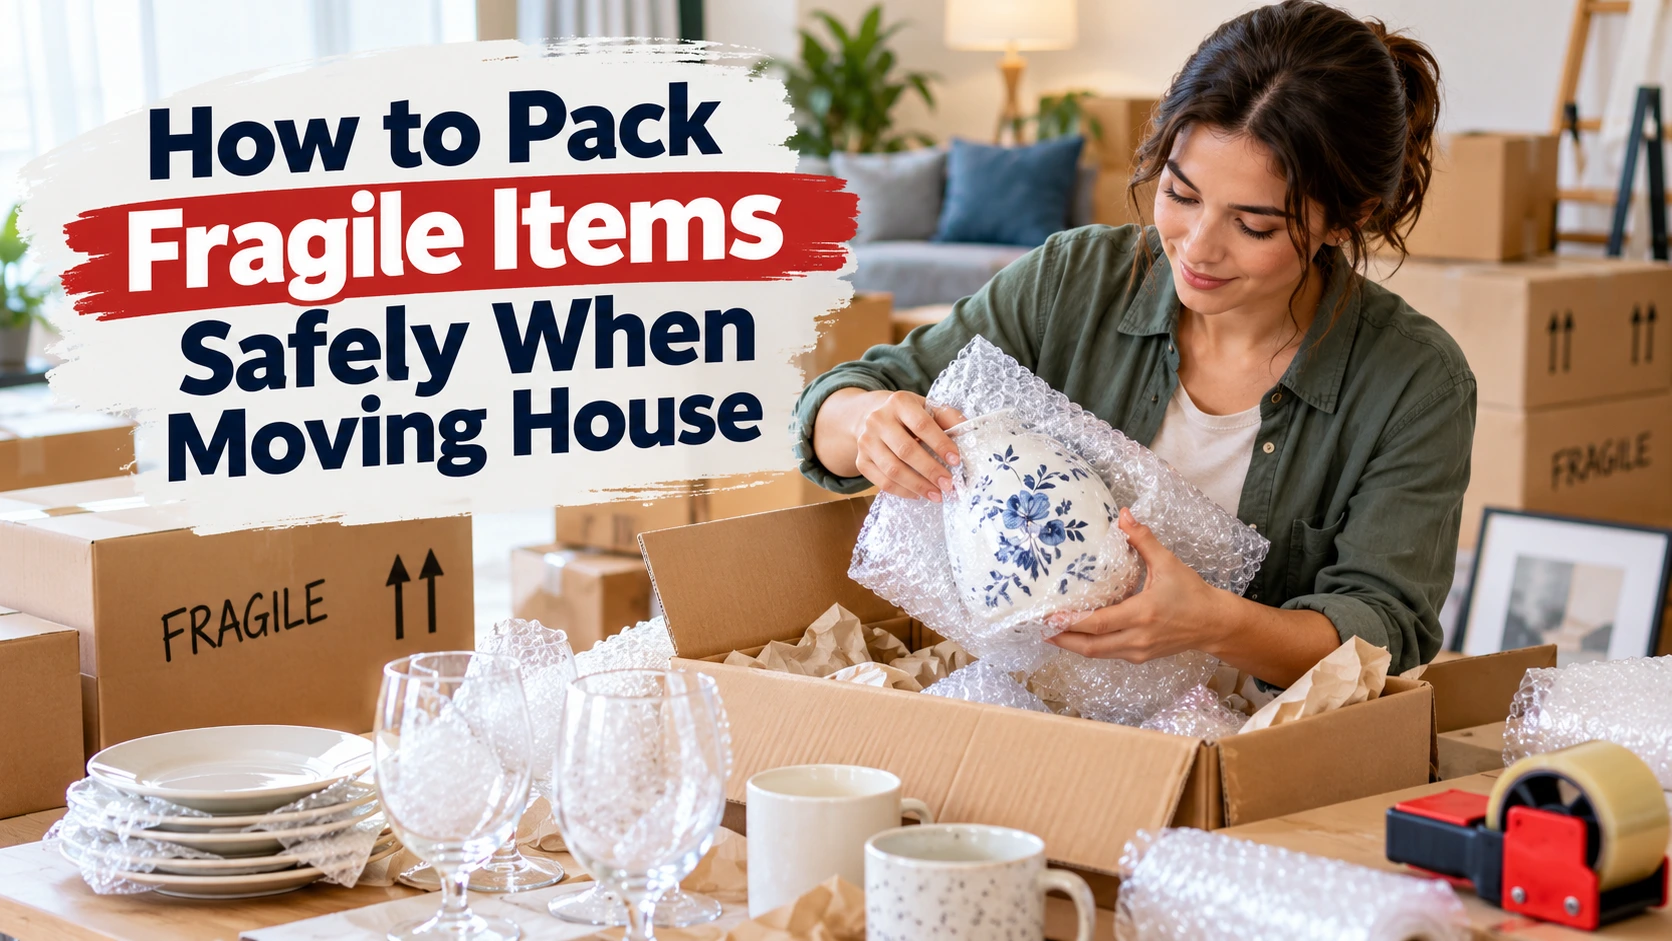
Most people remember their first breakage on moving day. Mine was a teapot, wrapped in one sheet of newspaper and a lot of optimism. It arrived in four pieces and a cloud of regret.
Fragile items rarely break because a move is rough. They break because they were packed in a hurry, in the wrong box, with too much faith in a single layer of paper. These tips for packing fragile items come from the kind of mistakes that happen every moving season, and they’re easy to avoid.
Give breakables their own packing session
Don’t pack delicate things in between everything else. Set aside a separate block of time, ideally a couple of unhurried evenings, and do it when you’re fresh. Wrapping a crystal decanter at 11pm after a full day of sorting cupboards is how chips and cracks happen.
Clear a table or a stretch of floor first. You need room to spread out paper, line up boxes and put finished parcels somewhere safe, not balanced on the arm of the sofa.
Choose boxes for the job
The box matters as much as the wrapping. For fragile things, look for:
- Double-walled cardboard that doesn’t flex when you press the sides
- Small to medium sizes, because a box of crockery gets heavy faster than you’d think
- Clean, dry boxes with no sagging corners or old tape residue
Boxes that have been through one house move already are fine if they’re still rigid. Anything soft, damp or split goes to recycling. Seal the bottom with two or three strips of tape across the seam, plus one more going the other way, because the base takes the strain.
Cushion first, then pack
Before anything goes in, put a few inches of crumpled paper, or a folded blanket or towel, across the bottom. Think of it as a mattress for your belongings. Boxes get set down harder than anyone intends, and this layer takes the impact so your glasses don’t.
One item, one wrap
If there’s one habit that saves the most china, it’s this: wrap every piece separately. A sheet of paper between two plates is not protection, it’s a suggestion.
Lay the item at one corner of a sheet of plain packing paper, roll it up diagonally, tucking in the sides as you go, and finish with a strip of tape. For precious or awkward pieces, add a second layer, or bubble wrap with the bubbles against the item.
Plain paper beats newspaper, because newsprint leaves grey smudges on white china and glassware that can take a lot of scrubbing to remove.
Item-by-item guidance
Plates and bowls. Wrap them individually, then bundle a few together. Pack them on their edges, not flat. A plate standing on its rim can take far more pressure than one lying flat with a stack above it.
Glasses. Put a little scrunched paper inside each glass, then wrap the outside, giving extra attention to the rim and stem. Pack them in the top layers of the box, never at the bottom under heavier items. Cell dividers are a real help here.
Cups and mugs. Handles are the weak point. Wrap the handle as a separate bit of the job, then wrap the whole cup.
Ornaments and figurines. Anything with thin, sticking-out parts needs bubble wrap around those parts specifically. Spare paper gets tucked into any hollows.
Pictures and mirrors. Put a tape cross, or an X, over the glass so a crack stays contained. Wrap the whole thing and pack it upright on its edge, with a piece of card on each face. Don’t stack anything on top.
Lamps. Remove the shade, pack it on its own in a roomy box, and wrap the base and cable together.
Electronics. Original boxes are ideal. Without them, pad generously, keep cables with their devices, and photograph the back of anything with a tangle of wires so setup at the other end isn’t a puzzle.
Shake test
When a box looks full, close the flaps and tip it gently from side to side. Hear a clink or feel a slide? Open it up and add more paper. Free space inside a box is where damage starts, because anything that can move will.
The lid should close flat, neither bowed upward nor sunken. A bulging lid invites someone to stack other things on it, while a sunken one means the contents have shifted or the box is too soft.
Labels that actually help
A scribbled “misc” tells nobody anything. Mark each box clearly with FRAGILE, the room it belongs in, and an arrow showing which way up. Write it on the top and at least two sides, so it’s visible however the box is stacked or carried.
Labels also help you. When you’re surrounded by boxes in the new place, you’ll find the glasses without opening six cartons of towels.
Loading day
If you’re loading a van yourself, put fragile boxes on the floor, tight against the bulkhead or a wall, with nothing heavy on top. Fill the gaps around them with soft furnishings, cushions or rolled blankets to stop sliding on corners.
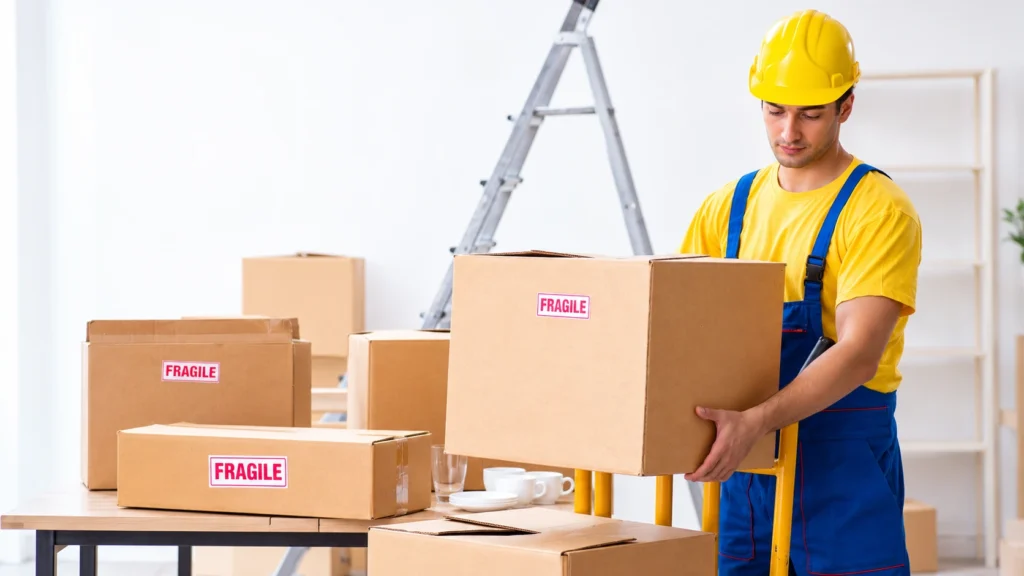
If you’ve booked a removal firm, point out your fragile boxes before loading starts. Crews pack a van in a particular order, and it’s much easier to protect something they know about from the beginning.
When it’s best to hand it over
Some things aren’t worth the stress of DIY: a family heirloom, a grandfather clock, large artwork, an antique mirror. For these, ask a professional about packing or custom crating. Also check what your contents insurance covers, because single-item limits are often lower than people expect.
If you’d like a second opinion, the team at Butler’s Removals & Storage can look at what you need to move and suggest whether to pack it yourself or leave the delicate items to them.
The final check
- Strong, small boxes with taped bases
- A cushioned layer at the bottom of each box
- Every item wrapped separately
- No rattling when the box is gently shaken
- Clear FRAGILE and “this way up” labels on several sides
- Priceless things packed professionally or travelling with you
Good packing isn’t complicated, but it does take patience. Follow these tips for packing fragile items, take your time, and you can unwrap the last teapot at the other end in one piece.
Moving soon and want a hand with the delicate bits? Butler’s Removals & Storage is here to help, from careful packing to safe transport and secure storage.