There’s a particular kind of chaos everyone’s seen at markets and outdoor events. Two people wrestling with a tent frame while it tries to sail off across the car park. One leg shorter than the others. Canopy sagging in the middle like it’s given up on life. Whatever’s meant to be happening underneath that tent—a stall, a booth, a promotion—it’s already starting badly.
Then there’s the other kind. The stall that looks like it appeared fully formed. Straight lines, taut fabric, signage people can read from a distance, everything under it somehow looks more professional than the stuff sitting on folding tables next door. The difference between the two scenes is about twenty minutes of technique, and it’s learnable in one afternoon. Here’s how to be the second tent.
How to Create a Professional Pop-Up Tent Setup
1. Pick the Right Ground Before You Set Up
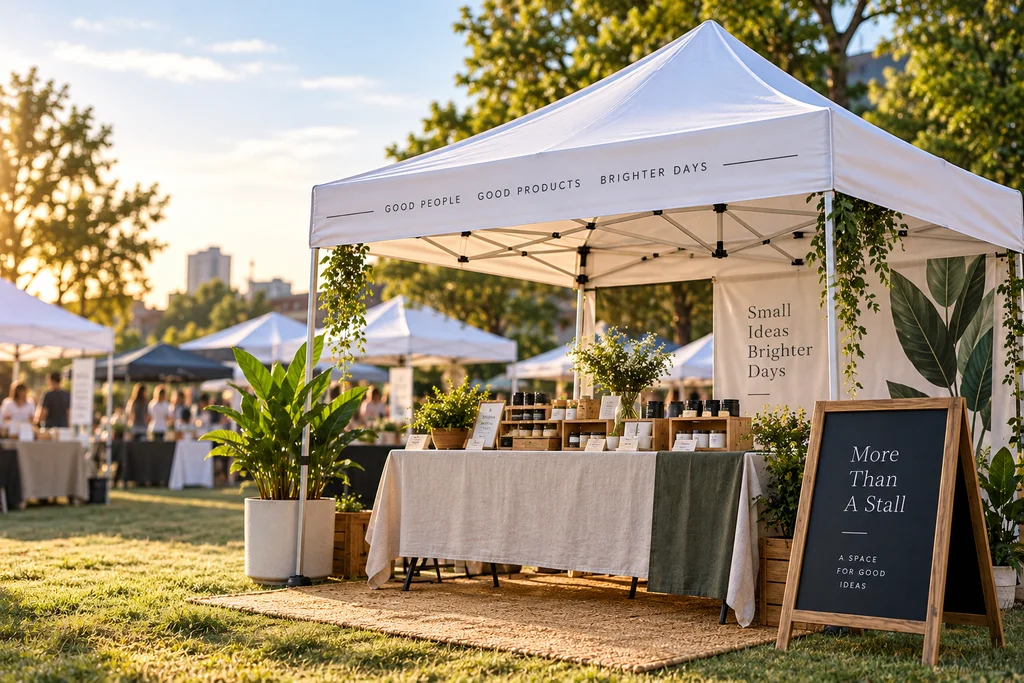
Everything about a good 10×20 pop-up tent setup starts with where the thing is going. Level ground, ideally. A slope means a leaning frame, water pooling on the canopy after rain, and a table full of products slowly sliding toward one corner.
Check what’s overhead too. Under a tree looks pleasant right up until the birds and the sap make their contribution to your branding. And look at drainage. Grass after overnight rain is a mud situation waiting for the first customer to stand in it.
One more thing people skip: check where the sun will be by mid-afternoon, not where it is at 8 am. A stall facing full western sun becomes an oven by lunch, and staff standing in it for six hours have a very different day to the ones in shade.
2. Get the Frame Up Without the Wrestling Match
Most pop-up disasters come from one mistake: not unfolding the frame properly before anyone touches the legs.
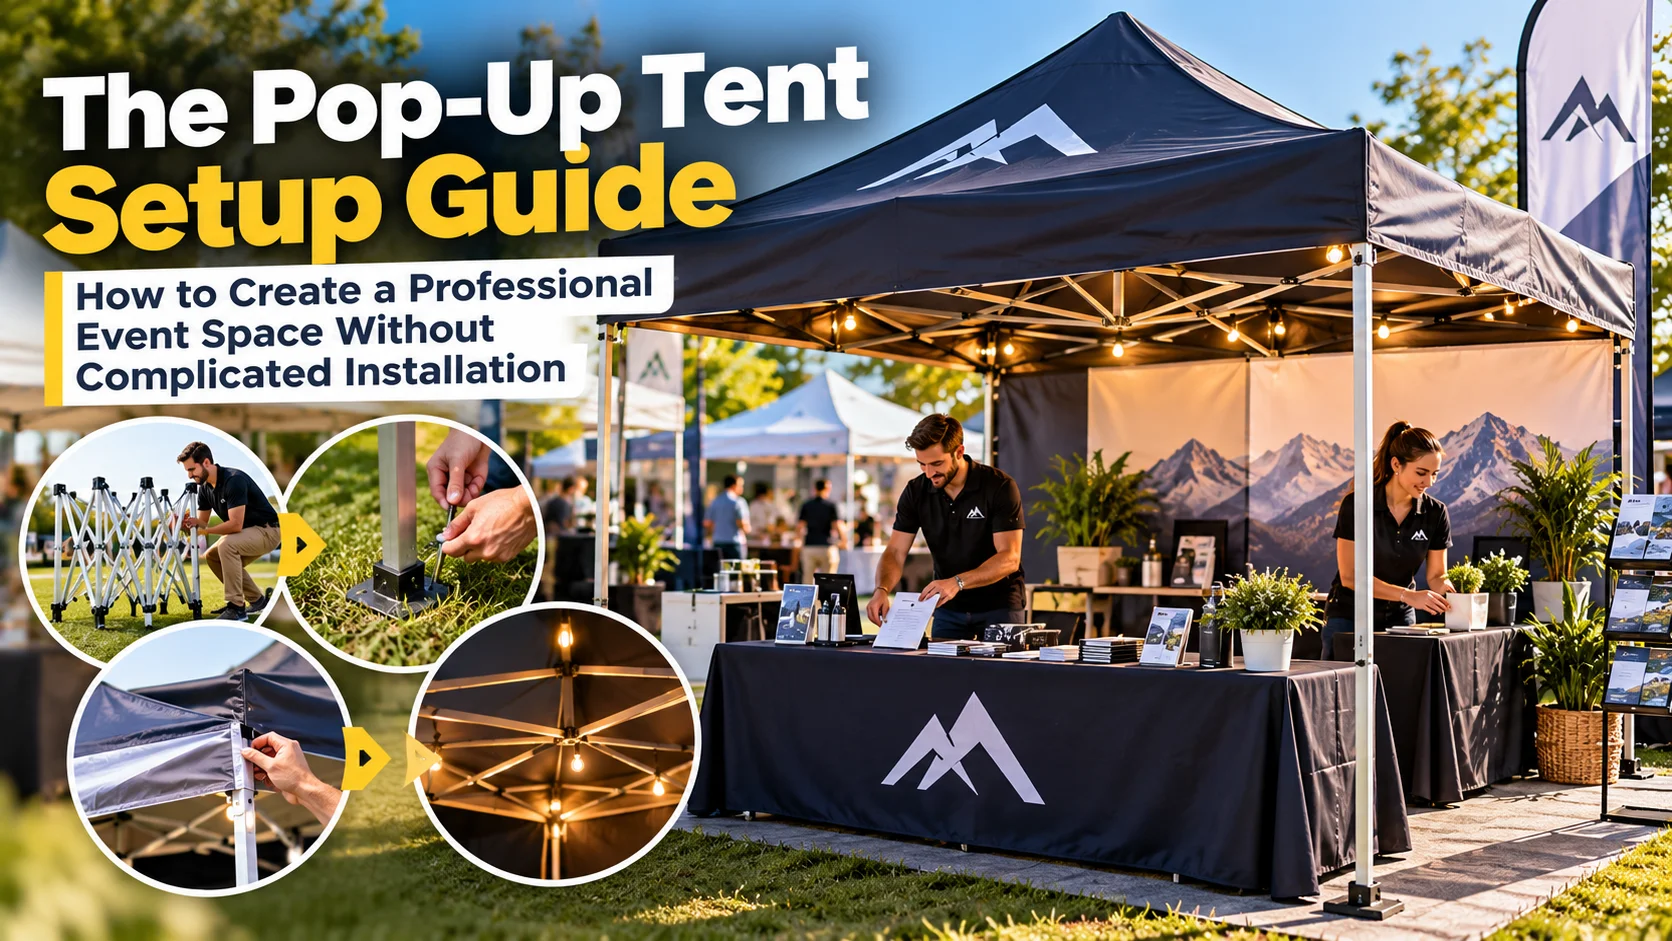
Modern pop-up frames are scissor mechanisms. Unfold it flat on the ground, roughly where it’s going to stand, and walk it open gradually. A bit at each corner, round the frame, again, until it’s nearly full height. Two people make this easy. One person can do it, but slowly, and never by forcing anything. If it’s fighting you, something’s snagged, and forcing a snagged scissor joint is how frames get bent on their first outing.
Extension legs go on last, one click at a time, corner by corner. That’s it. No tools, no drama. Anyone telling you it took two hours has usually skipped the unfold properly step and spent ninety minutes paying for it.
3. Secure the Tent Properly for Outdoor Conditions
This is the step that separates the pros from the people whose tent ends up in a hedge.
A pop-up canopy is basically a kite waiting for an opportunity. Even a modest breeze gets under the fabric and turns a light frame into a hazard to your products, your customers, and anyone’s windscreen nearby. So anchor it properly, every time, even on the calm-looking days. Stakes for grass: angle them away from the tent. On hard standing, weight matters: sandbags, water weights, or anything genuinely heavy on each leg. The flimsy cords and hope approach fails at exactly the moment the wind arrives.
Wind and pop-up tents genuinely don’t mix. If the forecast turns properly ugly, dropping the canopy down a height setting or taking it down beats watching it fly.
4. Make the Interior Look Professional
Frame’s up, canopy’s tight, legs are anchored. Now the part everyone underestimates: what’s underneath decides whether people stop.
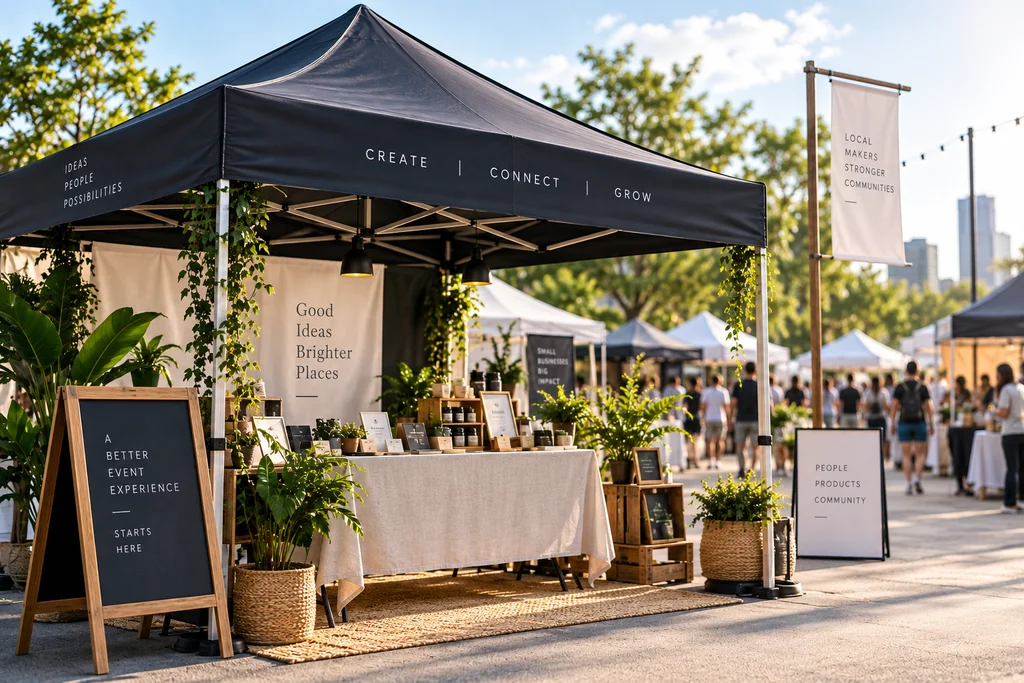
Height first. A printed pop-up tent with your logo on a valise and backdrop reads as an actual business from thirty meters away. A well-branded custom tent can turn the canopy itself into advertising that works across the entire event space, rather than only for people already standing nearby.
Table at the front edge or angled, banner or backdrop at the back, and products at eye level where possible. Keep the entrance side open. People won’t step into a space they can’t see. And resist overfilling. A few items displayed with room to breathe look premium. Everything you own crammed onto one table looks like a clearance sale.
Small touch that changes everything: lighting. A cheap LED strip along the frame edge turns the same tent into something genuinely eye-catching once the afternoon dims. Almost nobody does it. Almost everybody notices it.
5. Create a Practical Setup for Food Vendors
Anyone running a food stall has a stricter version of all of this, because tents doing food duty deal with heat, steam, grease, queues, and health inspections. The setup needs airflow on at least one side, solid anchoring, and enough room that the person cooking isn’t elbowing the person taking money.
A dedicated food tent setup is built around those demands, including sizing, ventilation, and a layout that works with a queue rather than against it.
The same logic applies to any busy booth, food or not. Watch where the queue forms and where people linger, then arrange the interior around that flow instead of fighting it on the day.
End Point
A professional-looking event space isn’t about expensive gear. It’s about the boring steps done in the right order. Pick a level, sensible ground. Unfold the frame patiently before raising it. Anchor every leg like a gust is coming, because one eventually will. Then dress the inside with a clear brand, an open sightline, and a bit of light.
Twenty minutes of care on setup day is the difference between a tent people trust and a tent people photograph for the wrong reasons. Set it up as it matters, and it will.