
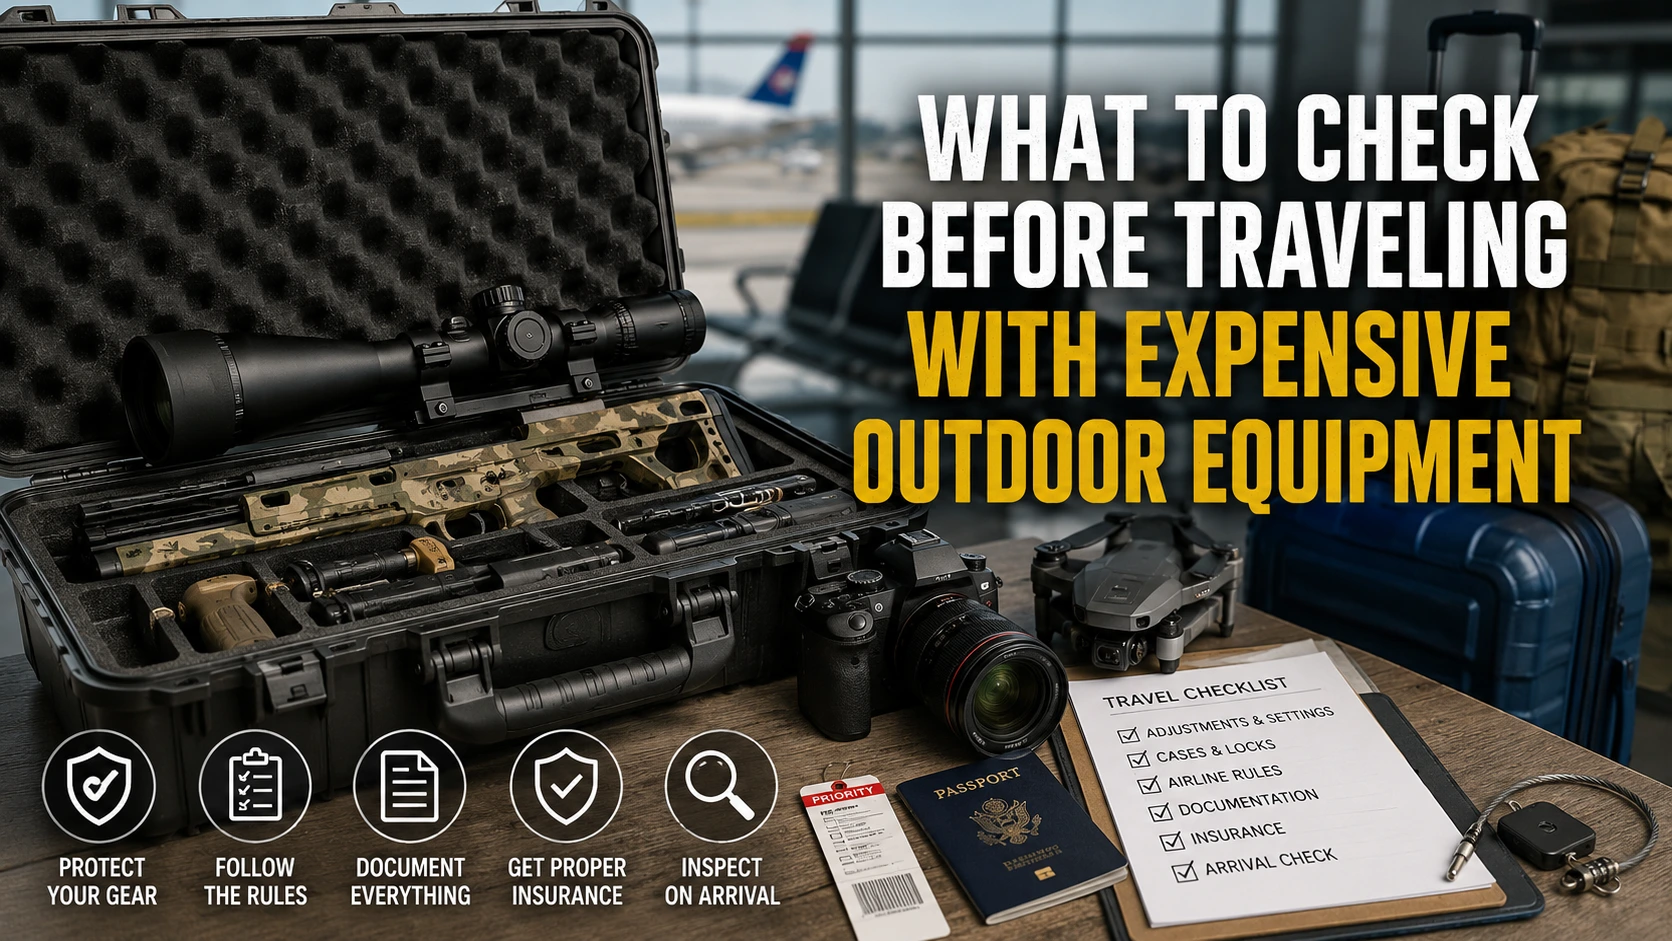
Ever watched a baggage handler throw a case onto the belt?
Hurts. Particularly when that was thousands of dollars worth of equipment you’ve worked years to accumulate. Guns, scopes, camera bodies, wet suits, dive computers, spotting scopes — the nice stuff is expensive and it doesn’t come back quickly.
Here’s the good news:
Nearly every travel nightmare can be prevented. A quick pre-flight checklist will discover the issues well before the airport can.
Here is what that check should look like…
What’s coming up:
- Start With Every Adjustable Part
- Why Travel Punishes Expensive Gear
- Cases, Locks And Airline Rules
- Proof, Paperwork And Insurance
- The First Thing To Do When You Land
Start With Every Adjustable Part
Adjustable gear is brilliant right up until it starts moving on its own.
Imagine what goes on in a case during transit. Tremendous vibration. Shock. Extreme temperature variations from cold cargo holds to hot tarmacs. Anything that moves, rotates or clamps has the tendency to creep away from where it belongs – and an adjustable thumb rest is usually one of the first items to wander off-site because it rests on a small clamping area and is subject to lateral pressure every time the gear is touched.
But before you do anything else with your case, walk through every possible adjustment point and verify that it’s torqued down. For a well-built chassis system like the XLR Envy Pro 2 that means the cheek riser, the length of pull spacers, the grip angle and the adjustable thumb rest position. Use a paint pen or a piece of tape to mark the setting first. That way if it slips on the flight you can put it back exactly where it was in ~10 seconds rather than wasting half a day trying to recreate your position.
Whether it’s a tripod head, a ski binding or a camera cage. If it tweaks, it will flex.
Quick pre-flight adjustment check:
- Torque every fastener to spec (not “tight as you can get it”)
- Mark or record every setting before packing
- Back off anything spring-loaded that will be under tension for hours
- Include the appropriate tool to allow for resetting of an adjustable thumb rest/riser upon arrival
Sounds obvious, right? Most people still skip it.
Why Travel Punishes Expensive Gear
Airlines transport enormous volumes of bags. They’re improving, but the volume is still high enough to plan for. Consider this: 24 million bags were mishandled industry-wide in 2025 alone.
The majority of those bags arrive late instead of being lost forever. That can still be bad if the delayed bag contains a scope, chassis and the ONLY tool that fits your adjustable thumb rest hardware.
The lesson is simple. Split your gear.
Small, fragile things that can’t be replaced fly with you in the cabin, where they’re allowed. Optics, memory cards, ballistic data, dial turrets, hex keys. Bulky stuff you can replace goes in the hold. If your checked case disappears for two days, you’re inconvenienced. You’re not finished.
Two more habits that pay off:
- Drop a tracker inside every case
- Photograph the packed case before it leaves your hands
Cases, Locks And Airline Rules
Not every case is a travel case.
The foam lined box something ships in shouldn’t have to make it through a baggage system, it’s made to survive a courier. For air travel you want something hard sided with a real gasket and tight latches and foam that fits the item snug so it doesn’t rattle around. Loose stuff inside a case damages the gear far worse than the case itself will from the outside.
Protocols are just as important as packing the right gear. Guns must be unloaded, placed in a hard-sided container and declared at the ticket counter. If you forget or don’t follow rules: It’s more than blowing up at airline staff — passengers could face a fine of up to $12,210 if you have a gun in your carry-on bag.
Don’t forget that drones, lithium batteries and dive tanks also have regulations that vary by airline and country.
Before you book, check:
- The airline’s specific policy, in writing
- The law at your destination and anywhere you transit
- Battery watt-hour limits and quantity limits
- Whether your locks need to be inspection-friendly
Snap a screenshot of the policy. It’s easier to argue with a check-in agent if you’ve got the airline’s exact words right there on your phone.
Proof, Paperwork And Insurance
Here’s the part almost everybody ignores…
If something is stolen from your kit, your reward depends solely on documentation. If you can’t document it, you won’t get a check.
Take a few minutes and build a basic gear manifest prior to traveling. Pictures of each item, serial numbers, receipts, and a description of any custom configuration – like where your adjustable thumb rest and riser rest are positioned in your configuration. Upload it to the cloud so you can access it from the hotel lobby at 3am.
Next, examine your coverages. Regular travel insurance only insures valuables up to a couple hundred bucks each. That won’t help if you need to replace your $2,500 rifle scope or custom chassis. Specialty equipment coverage, or a rider to your homeowner’s policy will likely be more appropriate.
Also consider: record serial numbers with the manufacturer if possible. And take a customs form with you when you leave your home country on expensive items. It prevents you from having to pay duty on equipment you already owned when you return.
The First Thing To Do When You Land
Do not wait until you reach the trailhead to open the case.
Open at baggage claim. If your bag is damaged or lost, most airlines require you to file your claim before you depart the airport. A report filed three days later isn’t worth much.
Then run a short arrival check:
- Look for cracks, dents or a bent latch on the case itself
- Confirm every mark and setting still lines up, including the adjustable thumb rest
- Re-check torque on anything that carries load
- Power on electronics and confirm they hold charge
- Confirm zero before you rely on the equipment
That last one is way more important than most people realize. Optics take a beating. Just because your rifle was dead-on-sight at home doesn’t mean it will be dead-on-sight after two flights and a shuttle bus, so allow time and ammo to verify that.
Locking In A Safe Trip
Flying with expensive outdoor gear isn’t dangerous because airlines don’t care. It’s dangerous because gear is fragile, rules are Byzantine, and most people pack drunk at midnight.
The fix is a repeatable routine:
- Check and mark every adjustable part, including the adjustable thumb rest
- Split fragile items between cabin and hold
- Use a real hard case with tight foam
- Follow the airline and destination rules to the letter
- Photograph and document everything before you leave
- Inspect and re-confirm the moment you land
Do this every time and your airport ceases to be the daunting part of your travels. Your gear arrives ready to go how you left it, your settings are right where you left them, and you can maximize your day one shooting.