
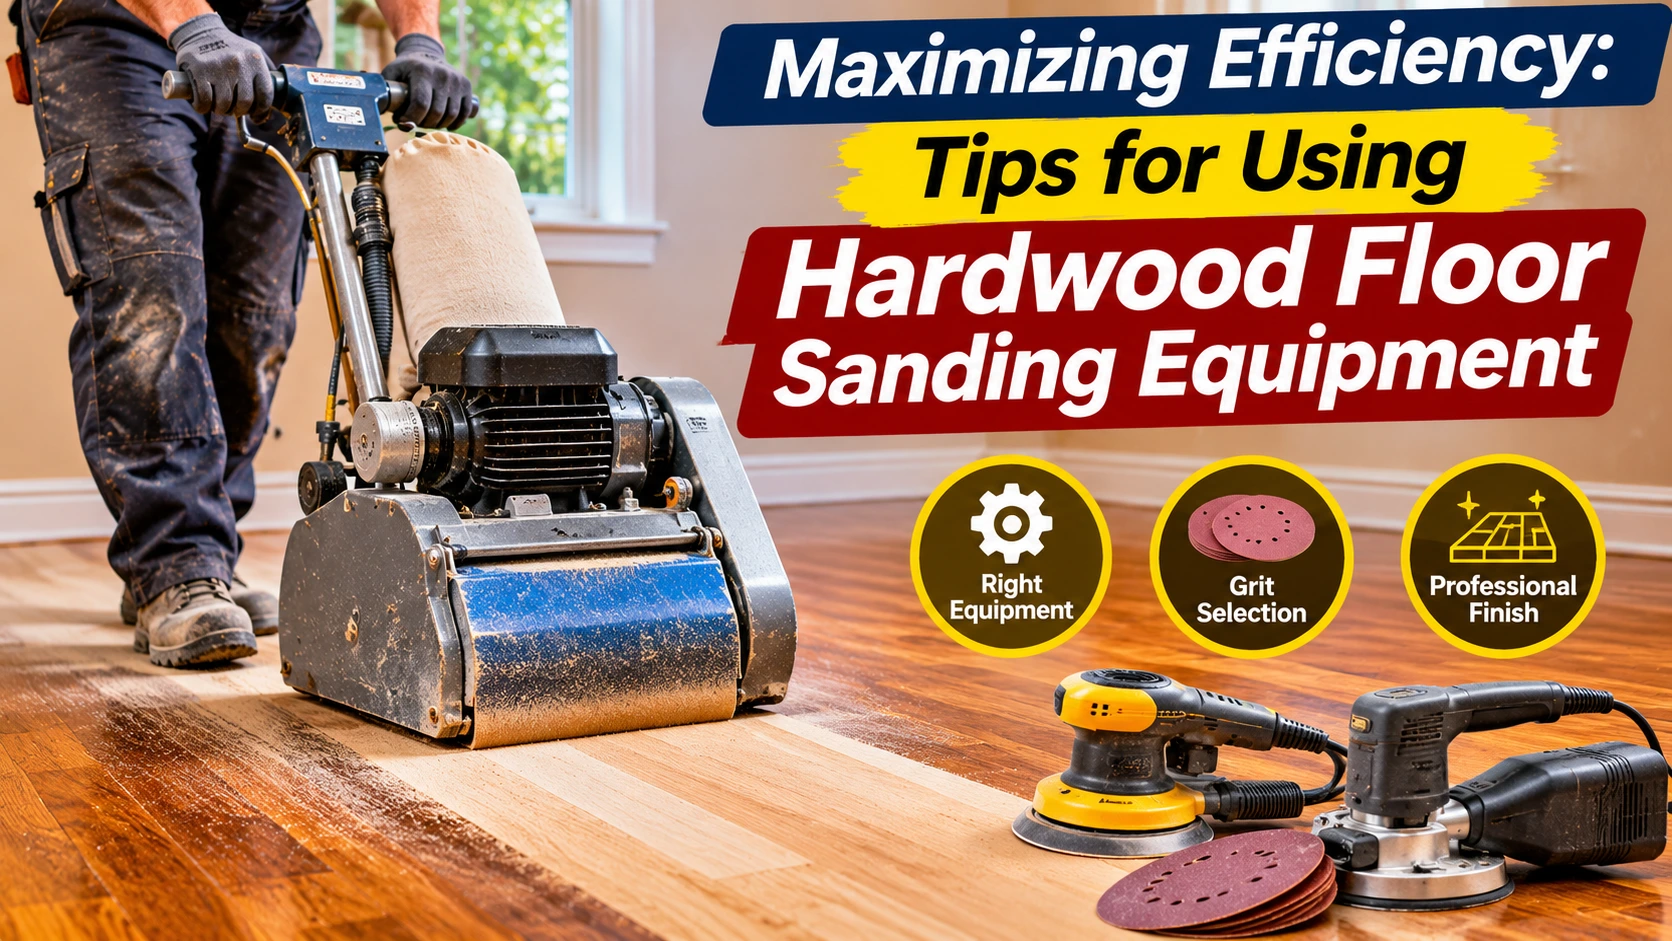
Getting a smooth, professional-looking hardwood floor finish takes more than a powerful sander. The results depend on choosing the right hardwood floor sanding equipment, using the correct abrasives, controlling dust, and following a consistent sanding process. Whether you’re restoring an older wood floor or preparing a recently installed surface for a new finish, using the equipment properly can save time, reduce mistakes, and help protect the wood.
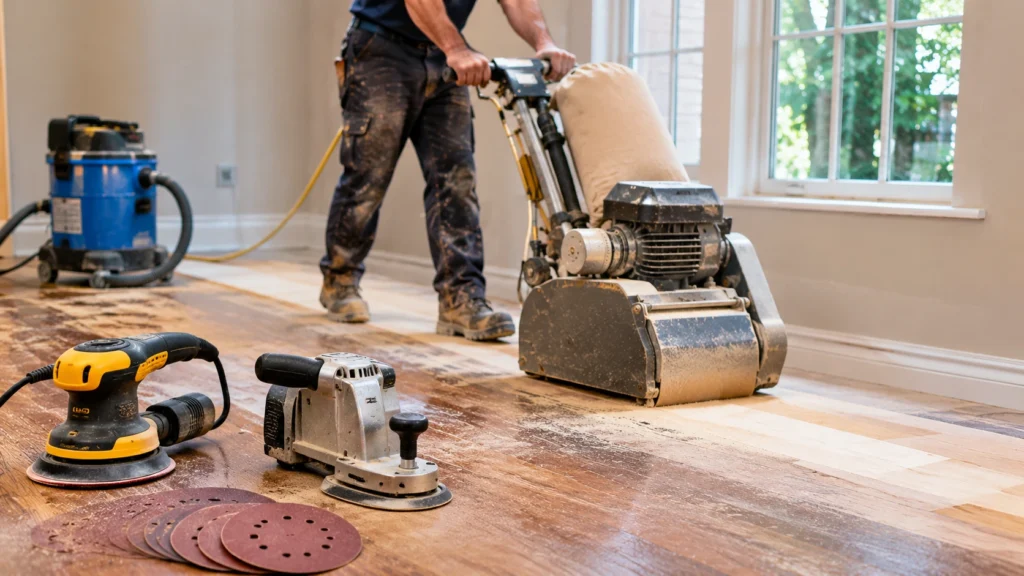
However, floor sanding is not simply a matter of moving a machine across the room. Different sanders perform different jobs, and the wrong grit or technique can leave scratches, uneven areas, or permanent damage. Dust management and personal safety also matter, particularly when working inside an occupied home.
This guide explains the main types of hardwood floor sanding equipment, how to use them efficiently, which mistakes to avoid, and how to maintain your tools. If you’re planning a DIY project in the United States or comparing equipment before hiring a flooring contractor, these practical tips will help you make better decisions.
Understanding Hardwood Floor Sanding Equipment
Before starting a hardwood floor restoration project, understand what each sanding machine is designed to do. Most professional floor-sanding jobs involve a combination of large floor sanders, edge sanders, detail tools, and equipment for collecting dust. Using the right machine at the right stage helps create a more consistent surface.
Drum Sanders
Drum sanders are powerful machines designed to remove old finishes, surface imperfections, and worn layers of wood. They are commonly used on solid hardwood floors when substantial material removal is necessary. Because they remove material quickly, they are often considered one of the most demanding tools in a floor-sanding setup.
A drum sander must keep moving while the sanding drum is in contact with the floor. Stopping in one position or lowering the drum incorrectly can create dips, gouges, or visible sanding marks. Beginners should practice on an appropriate test surface and follow the equipment manufacturer’s operating instructions before working on the main floor.
Belt Sanders
Some professional floor-sanding machines use a continuous sanding belt rather than a traditional drum. Belt sanders perform a similar role by removing existing finishes and leveling the floor. Depending on the model, they may provide consistent sanding pressure and efficient material removal across larger areas.
Although drum and belt sanders are often discussed together, their operation and abrasive requirements can differ. Always check the manufacturer’s recommendations when selecting belts, drums, and replacement abrasives.
Orbital and Random Orbital Sanders
Orbital sanders are useful for smoothing surfaces and refining areas after more aggressive sanding. Random orbital sanders combine circular and orbital movement, helping reduce the appearance of repetitive sanding patterns when used correctly.
These machines are particularly useful for smaller areas, detail work, and certain finishing stages. However, a handheld orbital sander is not necessarily a replacement for a professional floor sander when an entire room needs substantial leveling or old finish removal.
Edgers
Large floor sanders cannot reach every part of a room. Edgers are smaller, handheld machines designed to sand along walls, around doorways, and near other areas that larger equipment cannot easily access.
Edgers can be aggressive, so controlling pressure and movement is important. Poor technique may leave circular marks or uneven areas around the perimeter. These marks should be blended carefully with the surrounding floor during the later sanding stages.
Floor Buffers and Multi-Disc Sanders
Floor buffers and multi-disc or planetary sanding machines are used for particular preparation and refinement tasks. Depending on the equipment and flooring system, they can help smooth the surface, blend sanding marks, or prepare the floor for a new finish.
These machines do not perform exactly the same job as a drum sander. Their purpose is generally to refine or prepare a surface rather than remove large amounts of wood. Follow the finish manufacturer’s recommendations to determine whether screening, buffing, or additional sanding is appropriate.
Essential Accessories for Efficient Floor Sanding
The sanding machine is only one part of the equipment setup. Having the right accessories available can make the work more consistent and reduce unnecessary interruptions.
- Sandpaper and abrasive belts: Choose abrasives that are compatible with the machine and suitable for the floor’s condition.
- Dust collection system: A properly connected dust collection system helps capture dust produced during sanding.
- HEPA vacuum: A suitable HEPA vacuum can help with fine-dust cleanup when used according to its manufacturer’s instructions.
- Detail sanding tools: Hand scrapers and smaller sanders help reach corners and tight spaces.
- Floor repair supplies: Wood filler and compatible repair materials may be needed for small gaps or defects.
- Personal protective equipment: Eye protection, hearing protection, suitable respiratory protection, and protective clothing help reduce exposure to common job hazards.
Tips for Efficient Hardwood Floor Sanding Equipment Usage
Efficiency is not just about completing the work quickly. It means preparing properly, using the right equipment, avoiding unnecessary sanding passes, and achieving a consistent result without damaging the floor. The following techniques can help you work more effectively.
Inspect the Floor Before Starting
Begin by identifying the type and condition of the flooring. Check for loose boards, protruding nails, damaged sections, deep scratches, water stains, and previous coatings. Repair problems that could interfere with the sanding process before operating heavy equipment.
It is also important to determine whether the floor is solid hardwood or engineered hardwood. Engineered flooring has a real-wood surface layer over a manufactured core, and the thickness of that top layer determines how much sanding it can safely tolerate. Some engineered floors are not suitable for full refinishing at all.
If you are unsure about the floor’s construction or remaining wood thickness, ask a qualified flooring professional to assess it before sanding. Removing too much material can permanently damage a floor that cannot be refinished again.
Choose the Correct Sandpaper Grit
Sandpaper grit determines how aggressively an abrasive removes material. Coarse grits remove old finishes and surface imperfections more quickly, while finer grits are used to remove scratches left by earlier sanding stages and prepare the surface for finishing.
Do not automatically begin with the coarsest sandpaper available. Start with the finest grit that can effectively remove the existing finish and level the floor. Using an unnecessarily aggressive abrasive can remove more wood than needed and increase the risk of visible sanding marks.
A common professional approach uses progressively finer abrasives, with the exact sequence depending on the floor’s condition, wood species, machine, and finish system. For example, a floor may require a different starting grit if it has a thick old coating compared with a floor that is already in relatively good condition.
Do not skip several grit stages simply to save time. Each sanding pass should remove the scratches left by the previous abrasive. Industry guidance from the National Wood Flooring Association emphasizes selecting the appropriate starting grit and progressing through the abrasive sequence rather than skipping multiple stages.
Follow a Consistent Sanding Pattern
Plan your sanding direction before switching on the machine. Large floor sanders generally require steady, controlled passes. Overlapping passes slightly can help prevent missed strips and inconsistent sanding.
Avoid stopping while the sanding drum or belt is engaged with the floor. Keep the machine moving at a consistent speed and follow the manufacturer’s instructions for lowering and raising the sanding mechanism. If the floor has uneven boards or difficult areas, adjust your approach rather than forcing the machine through them.
Blend Edges with the Main Floor
After sanding the main floor area, use an edger to work along the perimeter. The edges should be sanded through a compatible abrasive sequence so that they match the surrounding floor as closely as possible.
Pay particular attention to areas around door frames, corners, and other tight spaces. Hand scraping or detail sanding may be necessary where machines cannot reach. A final inspection under good lighting can help identify differences in texture or visible sanding marks before applying stain or finish.
Use Dust Collection from the Beginning
Hardwood floor sanding creates fine wood dust that can spread beyond the immediate work area. A dust collection system connected to the sanding equipment helps capture dust close to where it is produced. Check hoses, connections, filters, and collection bags before starting the machine.
Do not assume that a machine is dust-free simply because it has a collection bag. Some dust may still escape, particularly if filters are clogged, connections are loose, or the equipment is poorly maintained. Use appropriate respiratory protection and clean the work area carefully.
Prepare the Work Area and Wear Protective Equipment
Before switching on a sander, remove furniture, rugs, and other obstacles. Check the floor for nails, staples, loose boards, and debris that could damage the abrasive or create a safety hazard. Keep children, pets, and other occupants away from the work area.
Wear safety glasses, hearing protection, and respiratory protection appropriate for the dust exposure and the equipment being used. Follow the respirator manufacturer’s fitting, maintenance, and filter-replacement instructions. Hearing protection is particularly important when operating powerful floor-sanding machines for extended periods.
For homeowners in older US properties, there is another important consideration. Homes built before 1978 may contain lead-based paint. If sanding or other work disturbs painted surfaces, lead dust can create serious health risks. EPA guidance recommends lead-safe practices, including appropriate containment and dust-control measures. Contractors performing covered renovation work may also need to comply with the EPA’s Renovation, Repair and Painting (RRP) requirements.
If using heavy sanding equipment safely, choosing the correct grit sequence and keeping the surface even feels beyond the scope of a DIY job, using a professional service may be the more practical route. For homeowners in Yorkshire, professional Wood Floor Sanding is one option when a worn timber floor needs restoration rather than simple cleaning. This is particularly relevant where mistakes with the equipment could remove too much material or leave an uneven finish.
How to Maintain Hardwood Floor Sanding Equipment
Regular maintenance helps sanding equipment operate consistently and can reduce unexpected downtime. Dust, worn abrasives, loose connections, and neglected moving parts can all affect performance. Make equipment checks part of your routine rather than waiting until a problem appears.
Clean Machines After Each Use
Remove accumulated dust from the machine’s accessible areas after use, following the manufacturer’s cleaning instructions. Pay attention to the dust collection bag, hose connections, vents, and other areas where debris may collect. Disconnect the power before carrying out cleaning or maintenance that requires access to moving parts.
Keep the dust collection system clean as well. A full collection bag or clogged filter can reduce suction and allow more dust to escape into the work area. Dispose of collected dust safely and follow the equipment manufacturer’s instructions.
Inspect Abrasives and Replace Them When Needed
Worn or clogged sandpaper can reduce sanding performance and make it harder to achieve a consistent result. Inspect abrasives regularly and replace them when they become dull, damaged, or loaded with finish residue.
Using fresh abrasives at the appropriate stages can improve efficiency and reduce the temptation to apply excessive pressure. Keep replacement belts and discs available so you do not have to interrupt the project unnecessarily.
Check Moving Parts, Cables, and Connections
Inspect power cords, plugs, switches, handles, wheels, and machine components before use. Look for damaged insulation, loose fittings, unusual noises, and signs of overheating. Do not operate equipment with damaged electrical components or malfunctioning safety features.
Follow the manufacturer’s maintenance schedule for lubrication and servicing. Not every machine requires the same type of lubrication, so avoid applying grease or oil to components unless the instructions specifically recommend it.
Store Equipment Properly
After cleaning and inspecting the equipment, store it in a dry, secure location. Protect sanding machines from moisture, accidental impacts, and excessive dust buildup. Keep abrasives flat or in their original packaging to prevent damage before the next project.
Regular maintenance of your sanding equipment will keep it running and extend its life. This includes cleaning the machines after each use and greasing moving parts as necessary. Keep extra sandpaper on your hand and change it as soon as it becomes clogged or dull.
Common Hardwood Floor Sanding Mistakes to Avoid
Even good equipment cannot compensate for poor technique. A few common mistakes can increase project time, damage the wood, or affect how well the new finish looks. Understanding these problems before starting can help you avoid unnecessary repairs.
Over-Sanding and Under-Sanding
Over-sanding removes more wood than necessary and can shorten the remaining life of a hardwood floor. This is particularly concerning with engineered flooring, which may have a limited wear layer. Excessive sanding can also create dips, uneven areas, and visible changes in floor thickness.
Under-sanding creates a different problem. Old finish, scratches, and uneven areas may remain visible beneath the new coating. The result can look patchy or inconsistent, especially after staining.
The goal is to remove only the material needed to create a suitable surface for the new finish. Inspect the floor between sanding stages and avoid repeating passes without a clear reason.
Incorrect Sandpaper Grit Selection
Choosing an unsuitable grit can make the process less efficient and leave scratches that are difficult to remove later. Starting too coarse can remove excessive wood, while starting too fine may fail to remove the existing finish effectively.
Choose abrasives based on the floor’s condition and follow a logical progression. Do not skip several grit stages just to finish faster. Make sure each pass removes the marks left by the previous one, and work your way through the appropriate sanding stages.
Applying Too Much Pressure
Pressing down too hard on a sander does not necessarily improve the result. Excessive pressure can create uneven removal, damage the abrasive, and make the machine harder to control. Allow the equipment to work at its intended operating pressure and follow the manufacturer’s guidance.
Ignoring Dust and Debris
Leaving dust on the floor between sanding stages can interfere with inspection and finishing. Fine particles may also become trapped beneath stain or finish, affecting the appearance of the final surface.
Vacuum the work area using suitable equipment and remove remaining dust according to the finish manufacturer’s preparation instructions. Avoid using cleaning products or damp methods that could leave moisture or residue on the wood before finishing.
Sanding Before Checking for Lead-Based Paint
In older homes, sanding painted surfaces without checking for potential lead hazards can create dangerous dust. Although hardwood floor sanding generally focuses on the wood surface and its existing floor finish, renovation work may also disturb painted trim, thresholds, or other nearby components.
Before disturbing painted surfaces in a pre-1978 home, understand the applicable EPA requirements and use appropriate lead-safe procedures. If you are unsure whether a surface contains lead-based paint, consult a qualified professional rather than assuming it is safe to sand.
Sanding and refinishing hardwood floors requires careful preparation, appropriate equipment, and attention to detail. Avoiding these common mistakes can help produce a more consistent result and reduce the risk of unnecessary damage.
DIY Hardwood Floor Sanding vs. Hiring a Professional
Deciding whether to sand a hardwood floor yourself or hire a professional depends on the floor’s condition, your experience, and the equipment available. Renting a floor sander may appear less expensive initially, but the project also involves abrasives, dust-control equipment, protective gear, repairs, and finishing materials.
A DIY approach may be suitable for someone with the right preparation, an appropriate floor, and the ability to operate the equipment safely. However, large rooms, uneven floors, damaged boards, difficult old coatings, and engineered flooring with a thin wear layer can make the job more challenging.
Professional flooring contractors generally have experience selecting sanding sequences, operating commercial machines, controlling dust, and preparing floors for different finish systems. They can also identify problems that may not be obvious before sanding begins.
Compare the total project cost rather than looking only at the rental price. If the floor has significant damage or you are uncertain about its construction, getting a professional assessment before starting can help prevent expensive mistakes.
How to Choose the Right Hardwood Floor Sanding Equipment
Not every sanding machine is suitable for every project. Before renting or purchasing equipment, consider the size of the area, the floor’s condition, the type of wood, and the amount of material that needs to be removed.
- Project size: Large rooms may require a professional drum or belt floor sander, while small repair areas may need a more compact machine.
- Floor construction: Confirm whether the surface is solid hardwood or engineered wood before choosing an aggressive sanding machine.
- Dust collection: Look for compatible dust extraction equipment and check the condition of hoses, filters, and collection systems.
- Machine condition: Inspect rental equipment for damaged cables, worn components, and signs of poor maintenance.
- Abrasive availability: Make sure the correct belts, discs, and replacement abrasives are available for the machine.
- Ease of operation: Choose equipment you can operate safely and confidently after reading the instructions.
- Rental and service support: Check whether the rental company provides operating guidance, replacement parts, and technical support.
It is also worth asking the rental provider which machine and abrasive sequence are suitable for your particular floor. A short conversation before renting can help prevent choosing equipment that is too aggressive or unsuitable for the job.
Mastering Hardwood Floor Sanding Equipment: The Key to a Professional Finish
Achieving a smooth hardwood floor finish requires the right combination of equipment, preparation, sanding technique, and maintenance. Drum or belt sanders handle the main floor area, edgers reach the perimeter, and orbital or multi-disc machines can help refine the surface during suitable stages of the process.
Work with a suitable abrasive sequence, keep the equipment moving as instructed, and pay attention to dust control and personal protection. Most importantly, understand the type and condition of the floor before removing any material. These steps can help you avoid common pitfalls and achieve a more consistent result.
By avoiding common pitfalls and employing the tips provided, you’ll refine your skills in hardwood floor restoration. Remember, the ultimate harmony between machine, material, and method ensures your hardwood floor’s longevity, beauty, and the endless enjoyment of a job well done.
Frequently Asked Questions About Hardwood Floor Sanding Equipment
What equipment is needed to sand hardwood floors?
A typical hardwood floor sanding setup may include a drum or belt floor sander, an edger, a detail sander or hand scraper, suitable sandpaper, and a dust collection system. Depending on the floor and finishing process, a buffer or multi-disc sander may also be useful.
What grit sandpaper should I start with on hardwood floors?
The correct starting grit depends on the floor’s condition, the existing finish, the wood species, and the sanding machine. Start with the finest abrasive that can effectively remove the coating and level the surface. Avoid using an unnecessarily coarse grit, and follow a progressive sanding sequence.
Can I use an orbital sander to sand an entire hardwood floor?
An orbital or random orbital sander can be useful for smaller areas and certain refinishing tasks. However, it may be inefficient for removing thick finishes or leveling a large floor. The appropriate machine depends on the floor’s condition and the amount of material that needs to be removed.
How do I reduce dust when sanding hardwood floors?
Use sanding equipment with a compatible dust collection system, check filters and connections regularly, and keep the work area isolated from the rest of the home. Use appropriate respiratory protection and clean up with suitable vacuum equipment. If lead-based paint may be disturbed in an older home, additional lead-safe precautions may be required.
How often should sanding equipment be maintained?
Inspect the equipment before each use and clean it after every project or work session as recommended by the manufacturer. Check abrasives, dust collection components, electrical cables, and moving parts regularly. Follow the manufacturer’s schedule for lubrication and servicing.
Can engineered hardwood floors be sanded?
Some engineered hardwood floors can be refinished, but it depends on the thickness of the real-wood wear layer and the manufacturer’s specifications. Others have a surface layer that is too thin for conventional sanding. Check the flooring documentation or consult a qualified professional before attempting to sand engineered flooring.
Is it better to rent or buy hardwood floor sanding equipment?
Renting is often more practical for a one-time home renovation because professional floor sanders can be expensive to purchase and maintain. Buying may make sense for contractors or people who regularly complete flooring projects. Compare rental costs, equipment condition, accessories, and support before deciding.
Keep browsing our website for more helpful articles!